
OUR LOCATIONS
Loading store locator
from Stockist store locator...
-

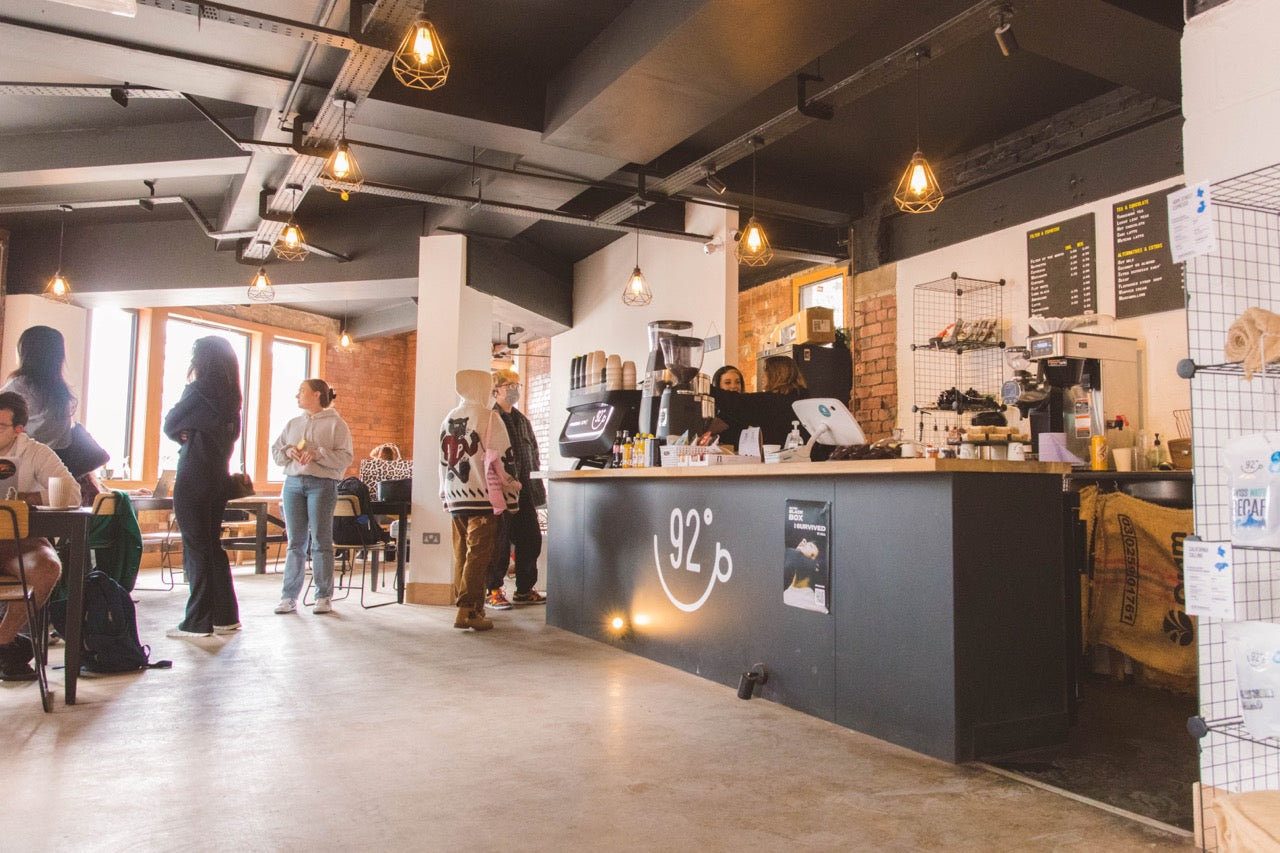
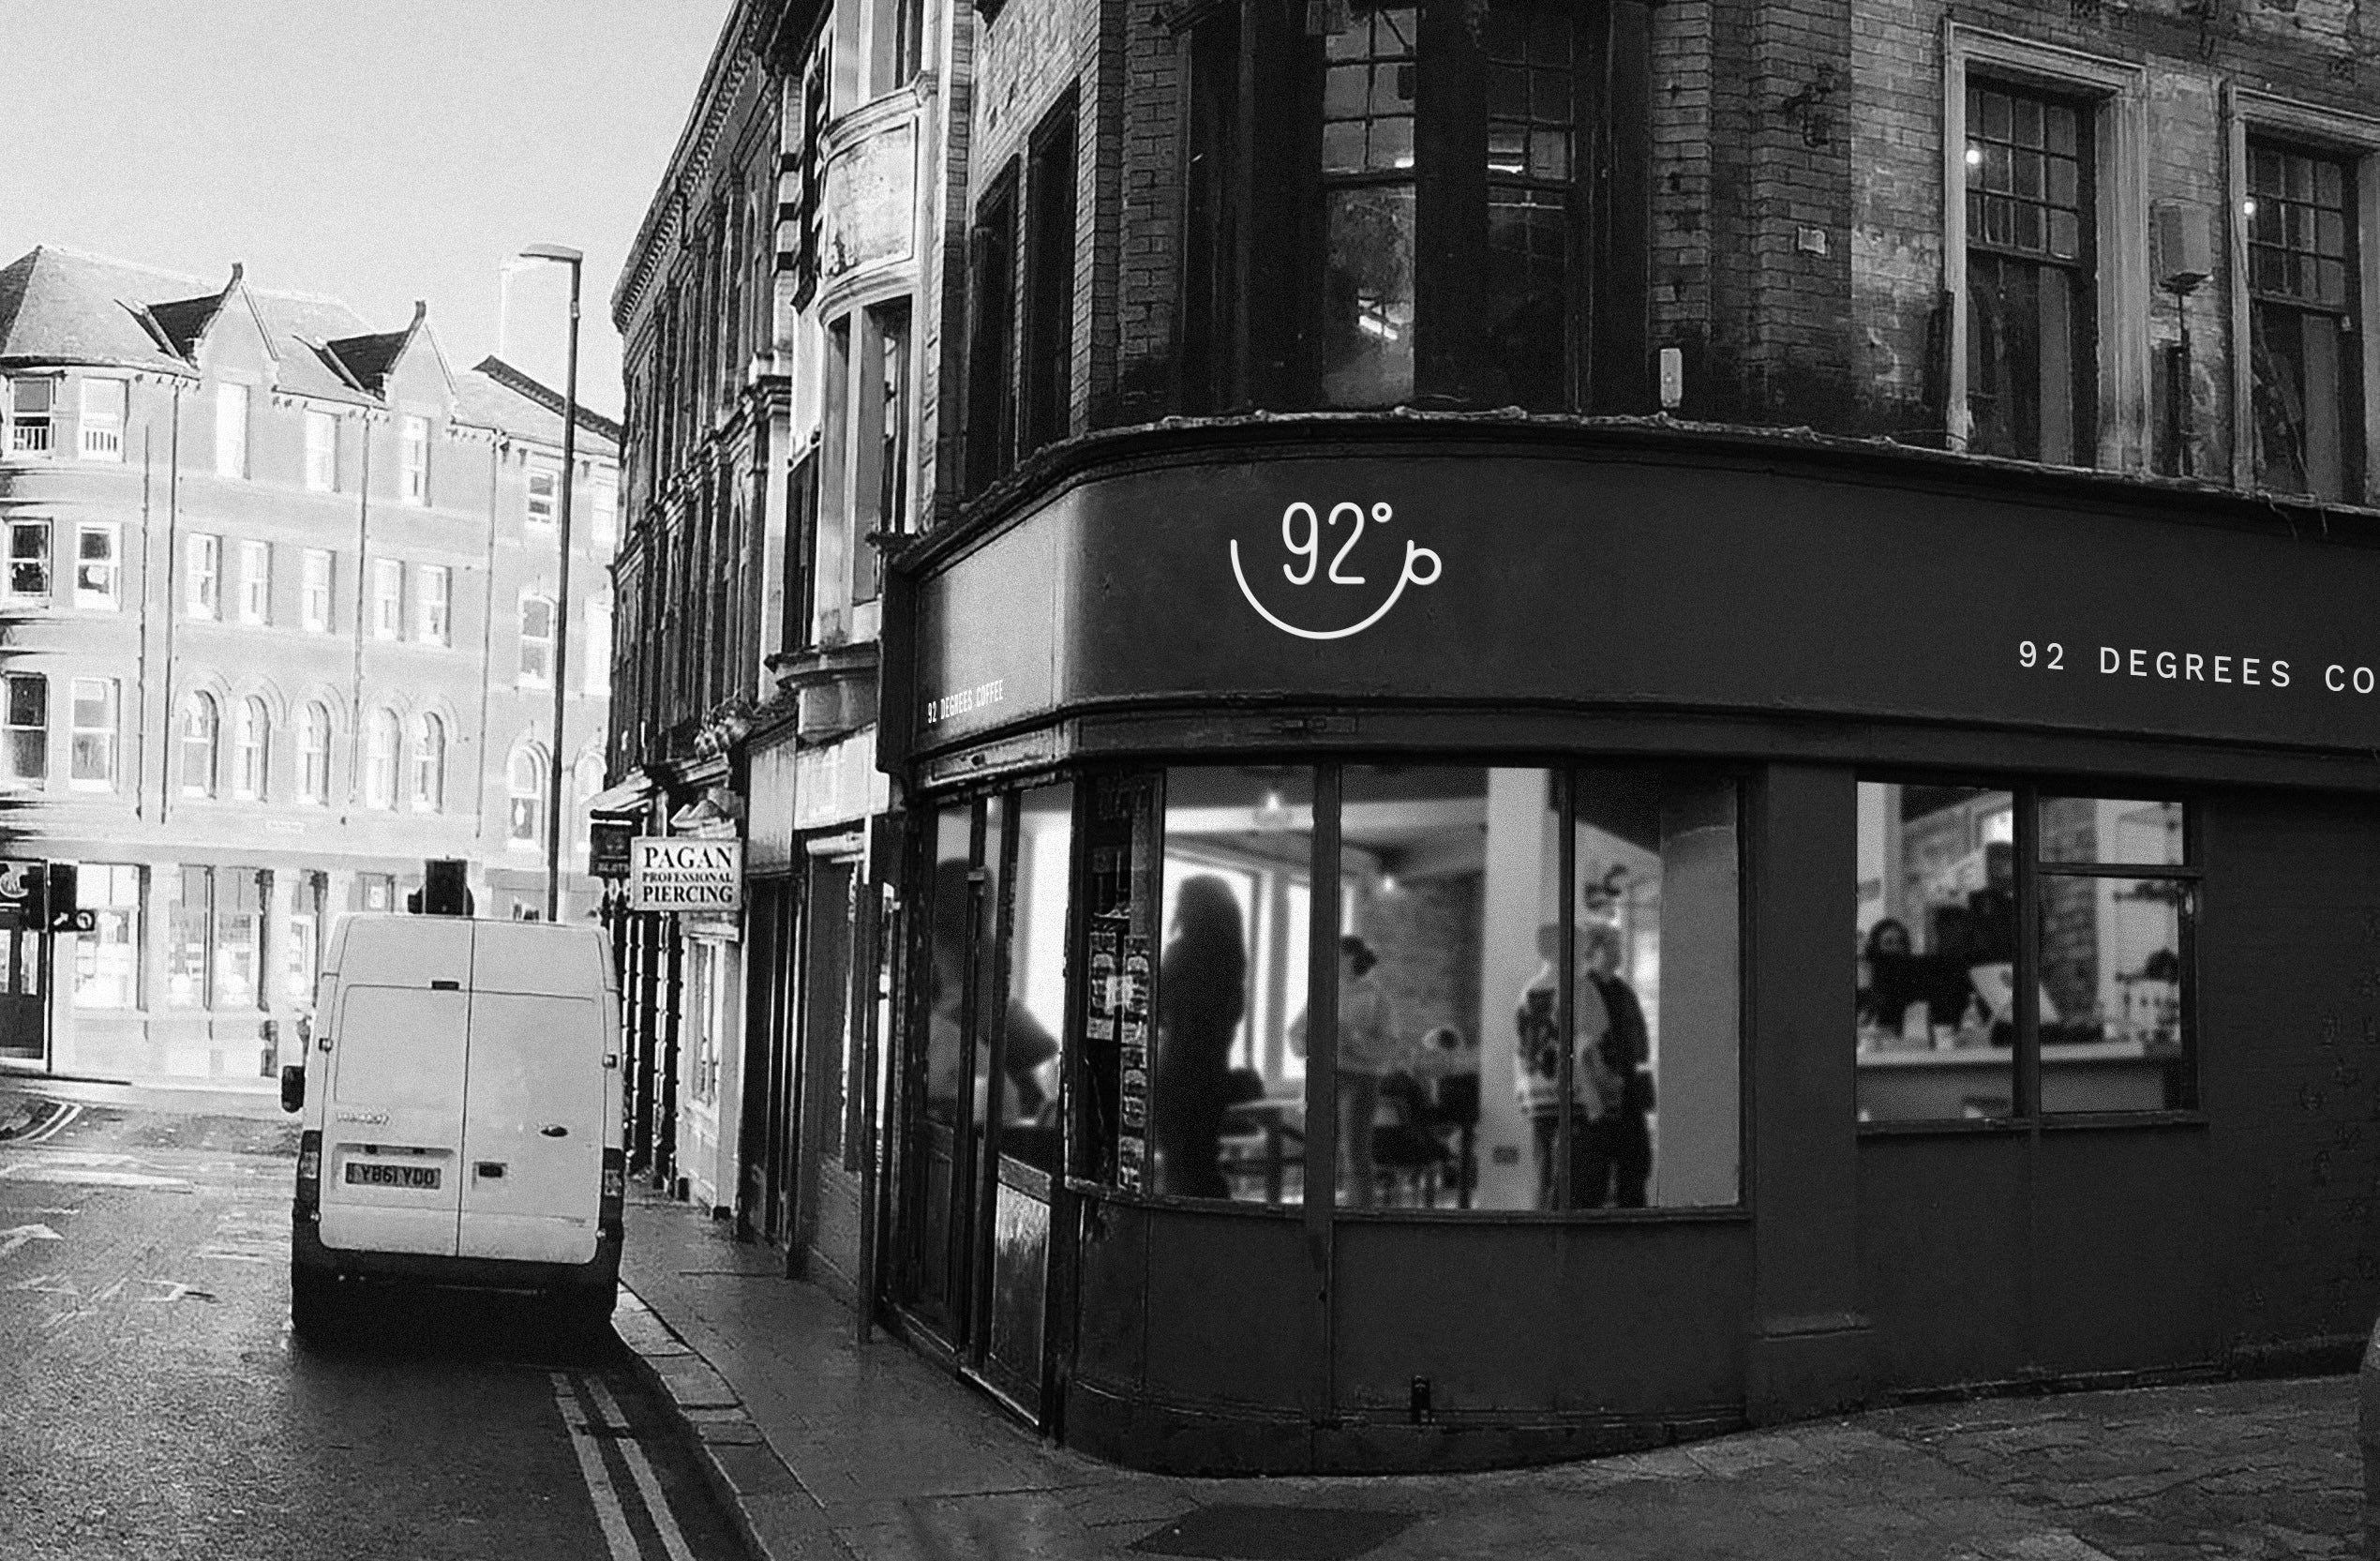
Hardman Street
Liverpool -

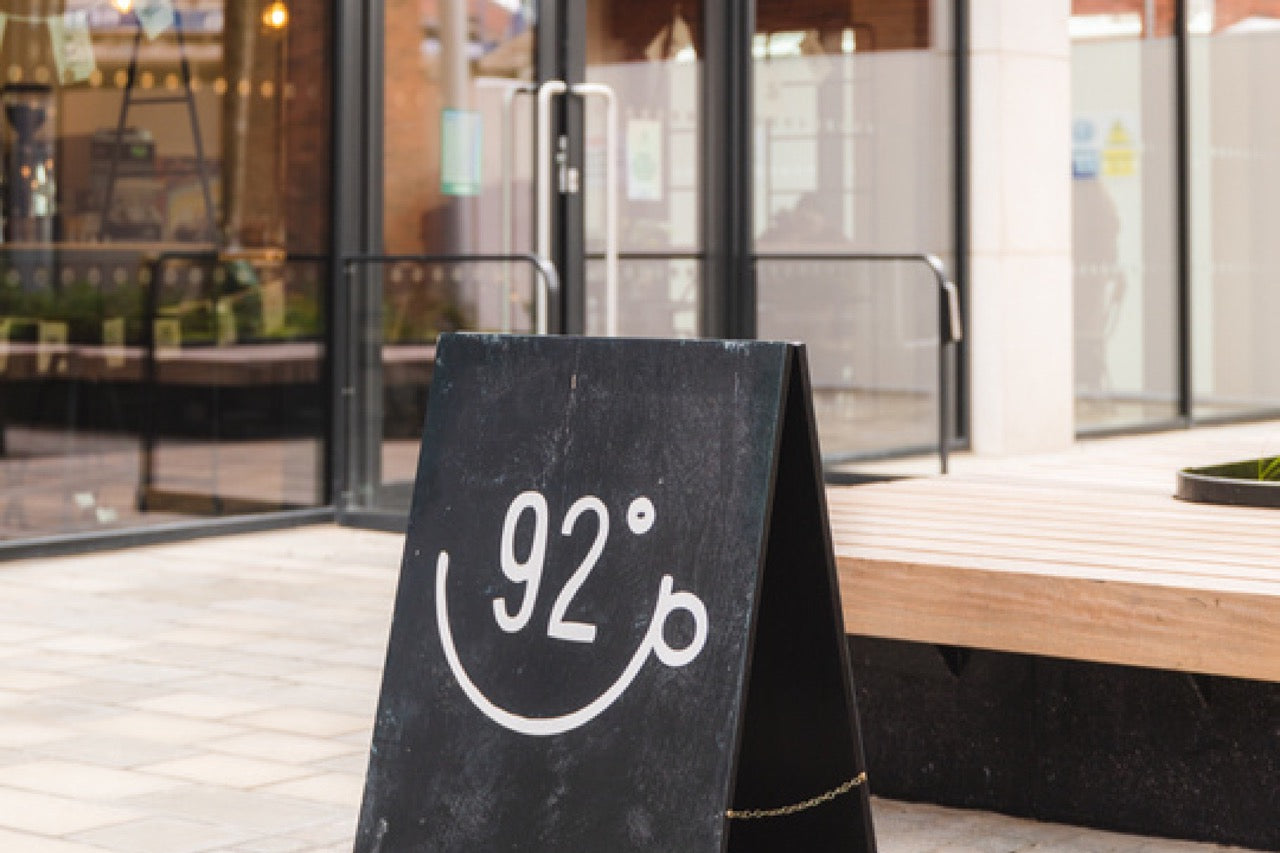
Jamaica Street
Liverpool -

Myrtle Street
Liverpool -
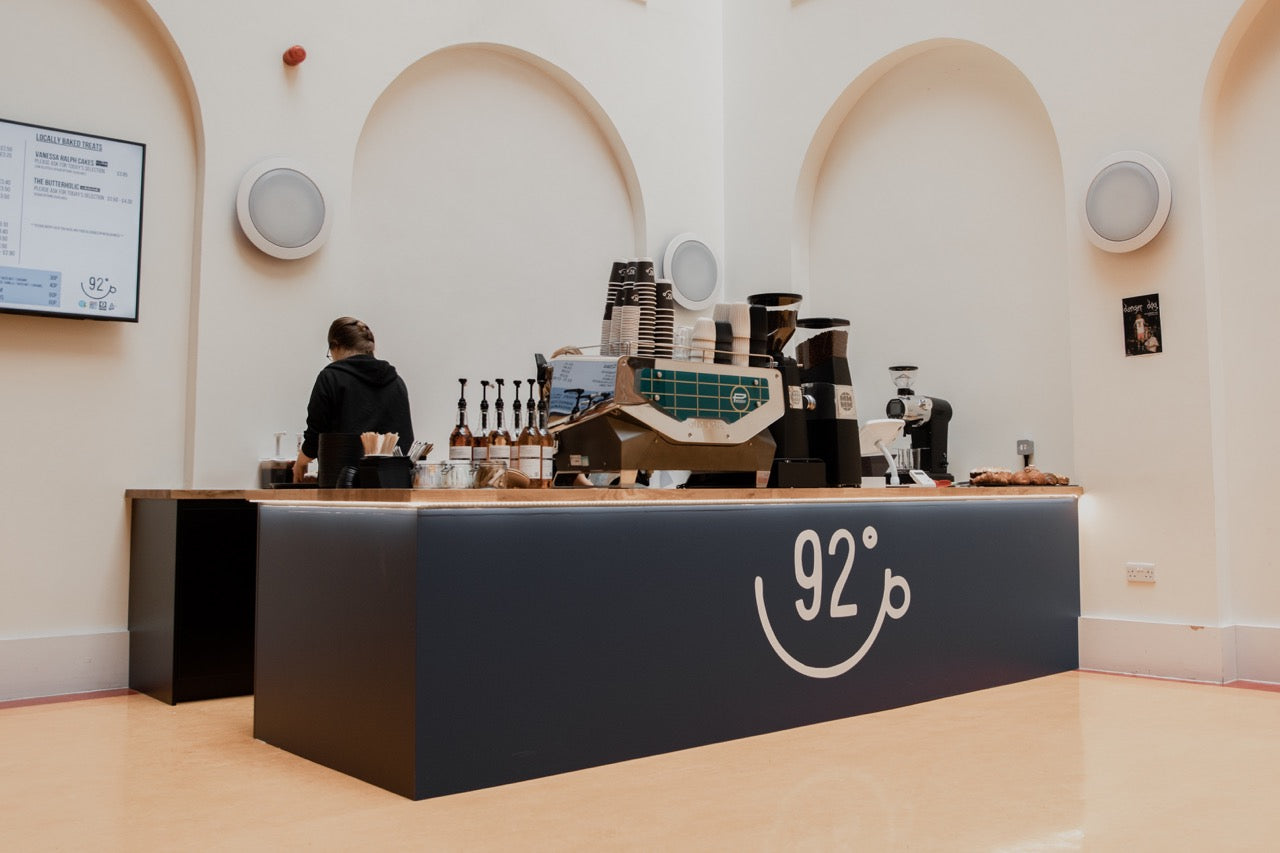
LIPA
Liverpool -
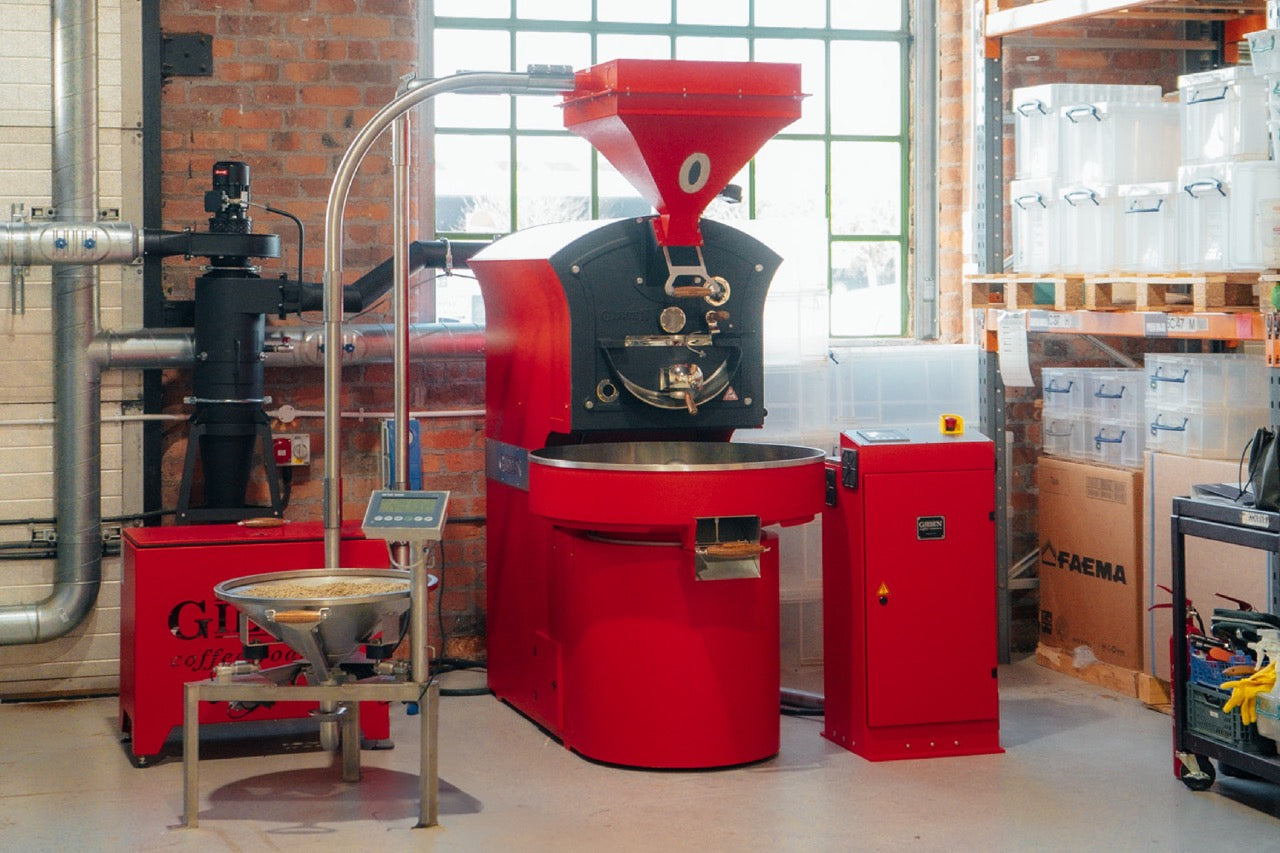
HQ/Roastery
Liverpool -
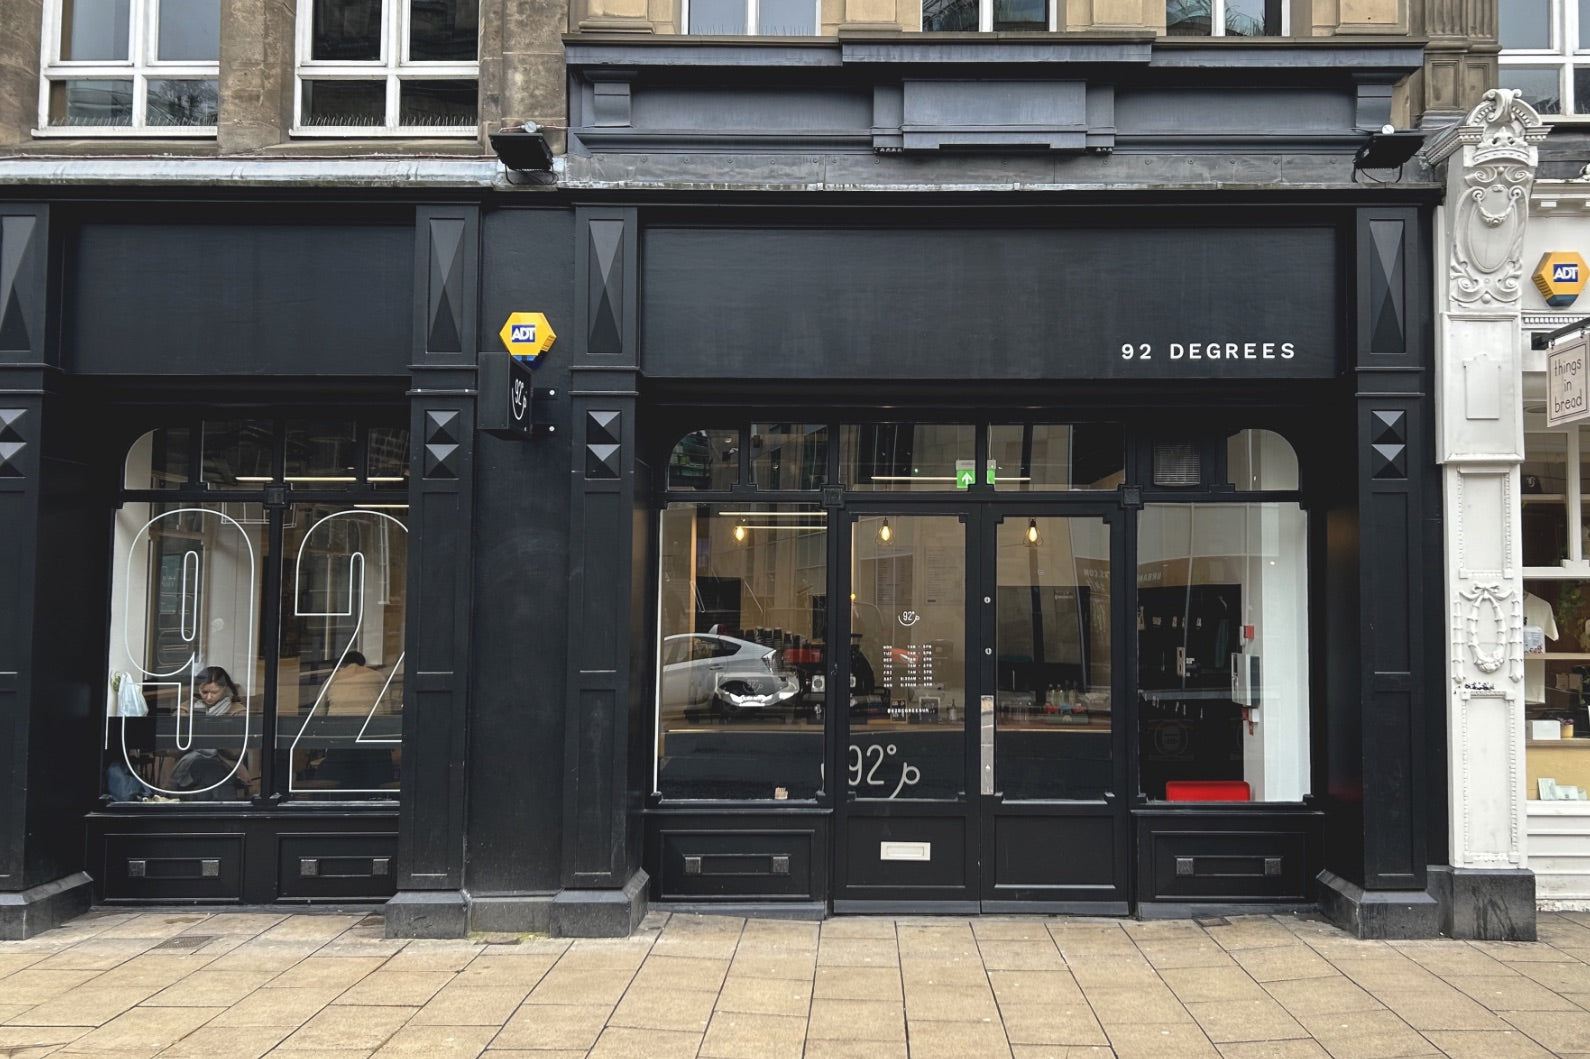
John Dalton Street
Manchester -

Spinningfields
Manchester -
Middlewood Locks
Salford -
Claypit Lane
Leeds -
Mustard Wharf
Leeds -
Boar Lane
Leeds -
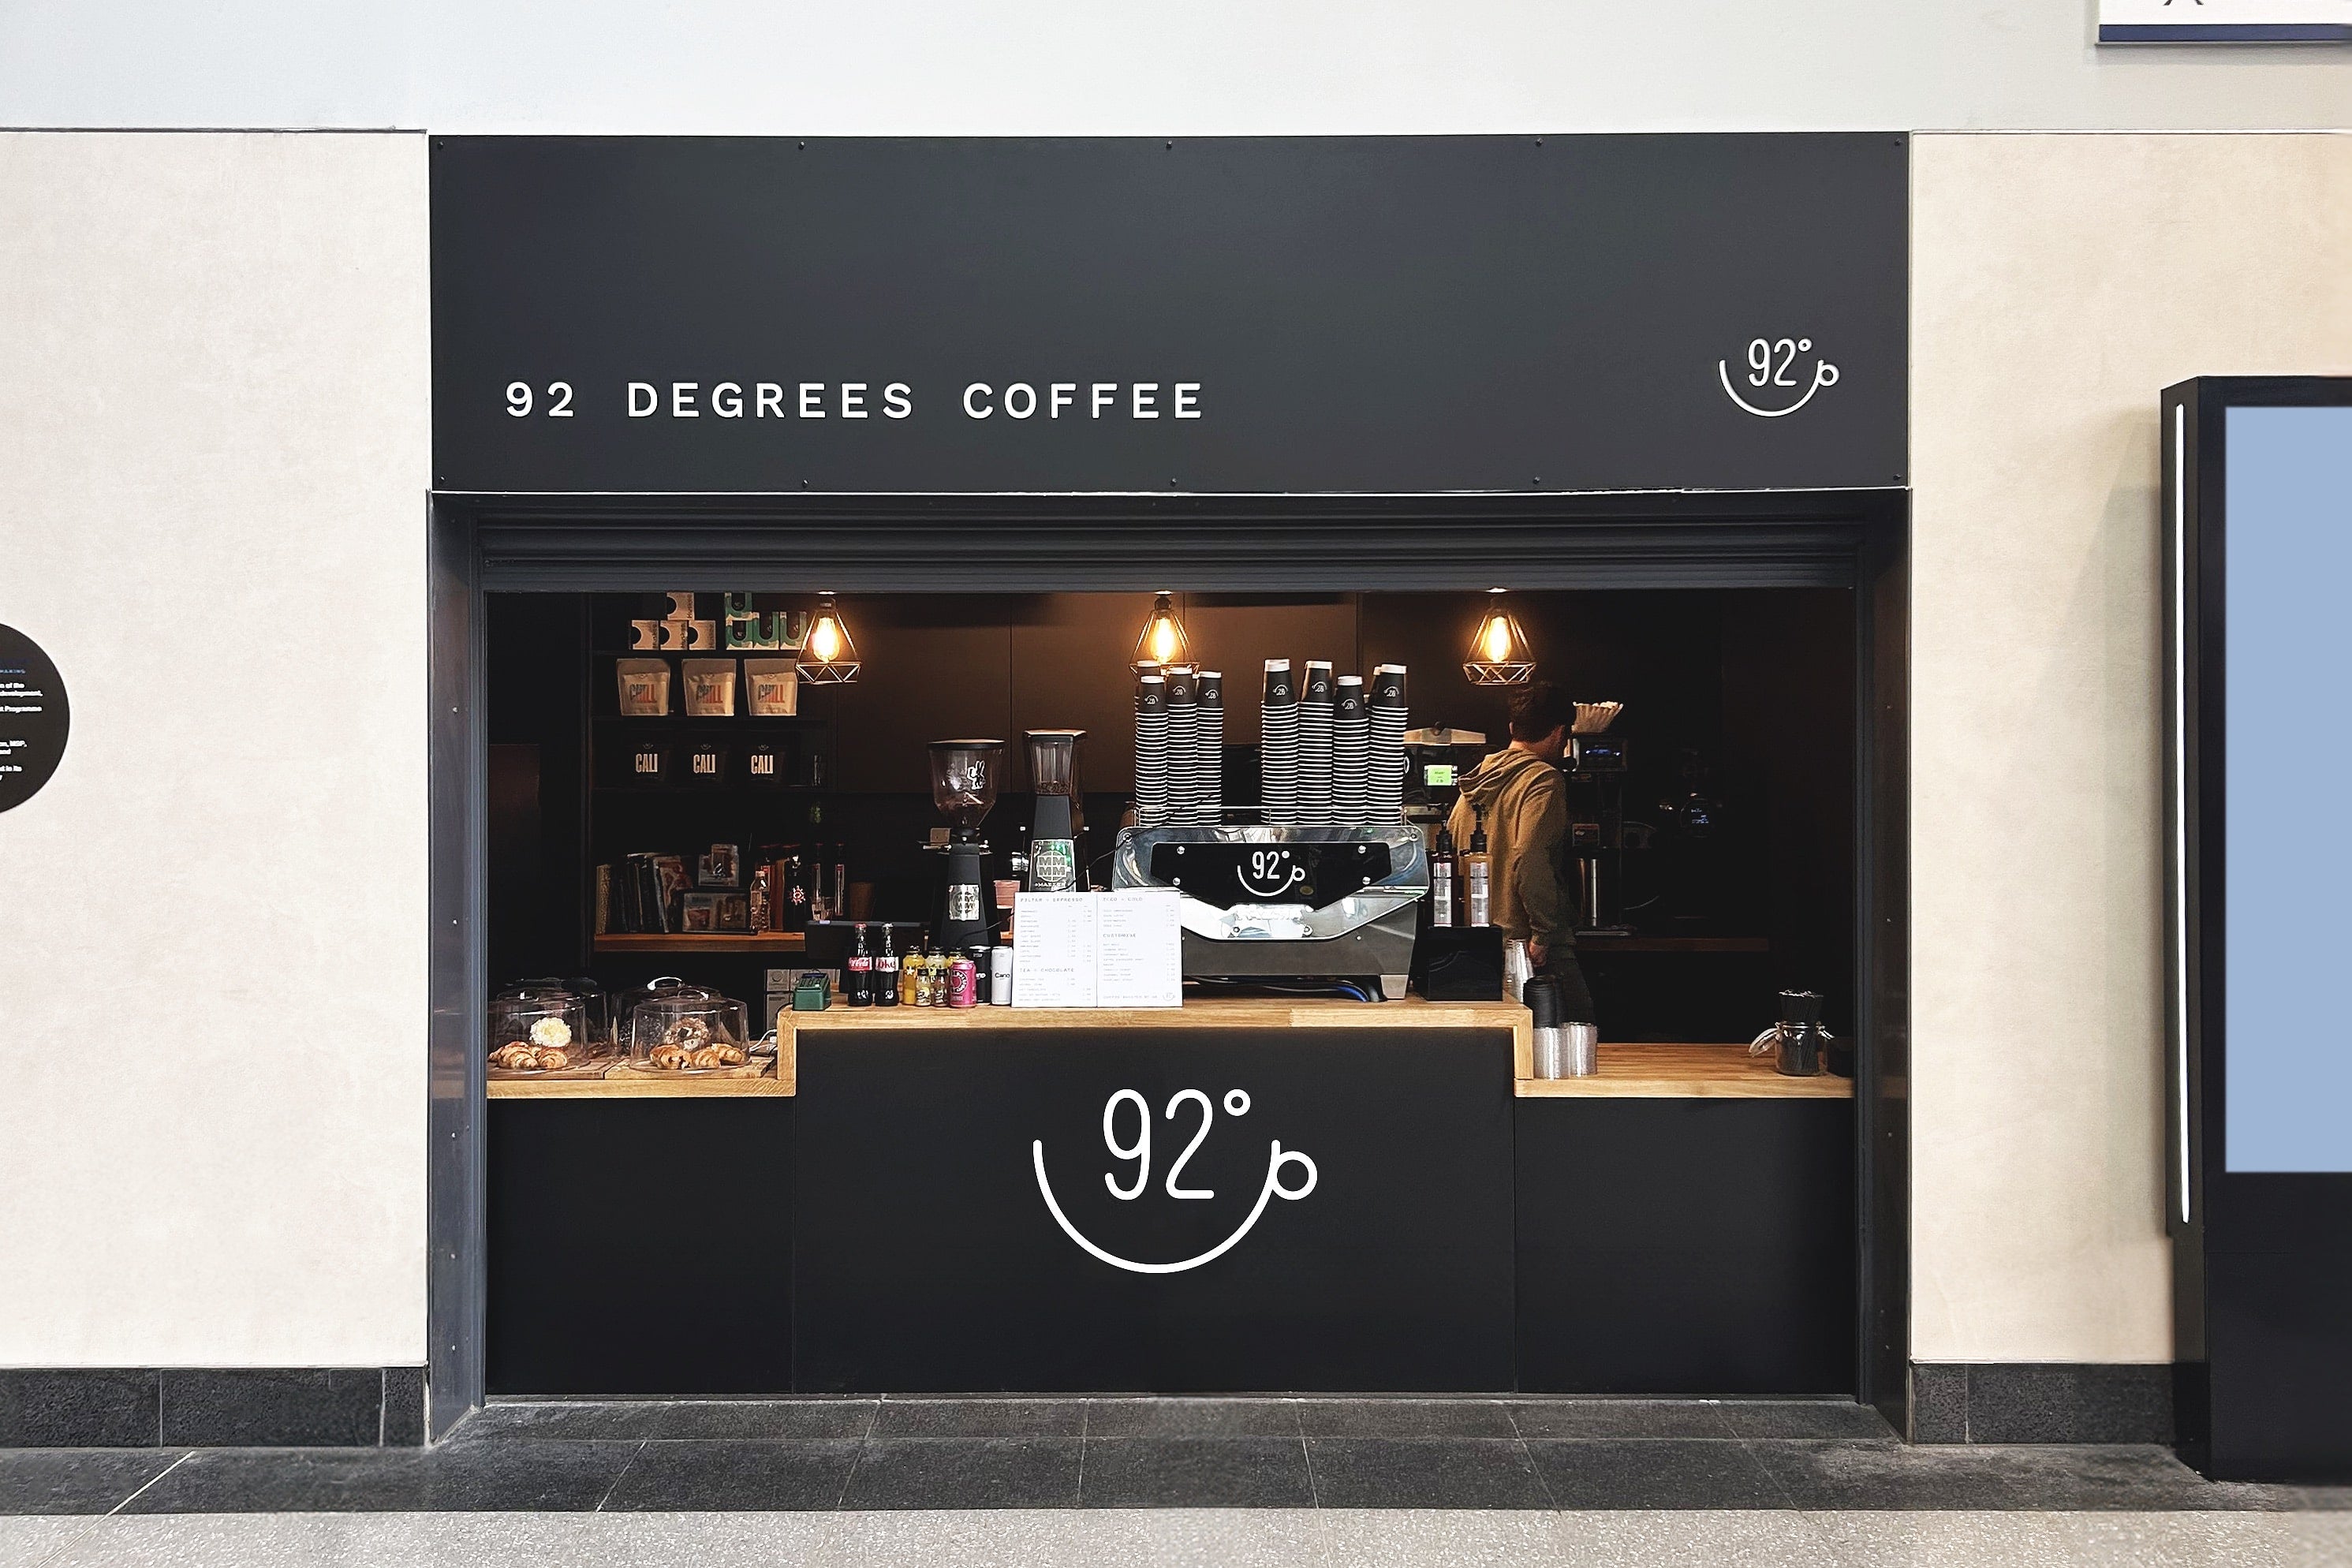
Lime Street Station
Liverpool -
Queen Street Station
Glasgow -
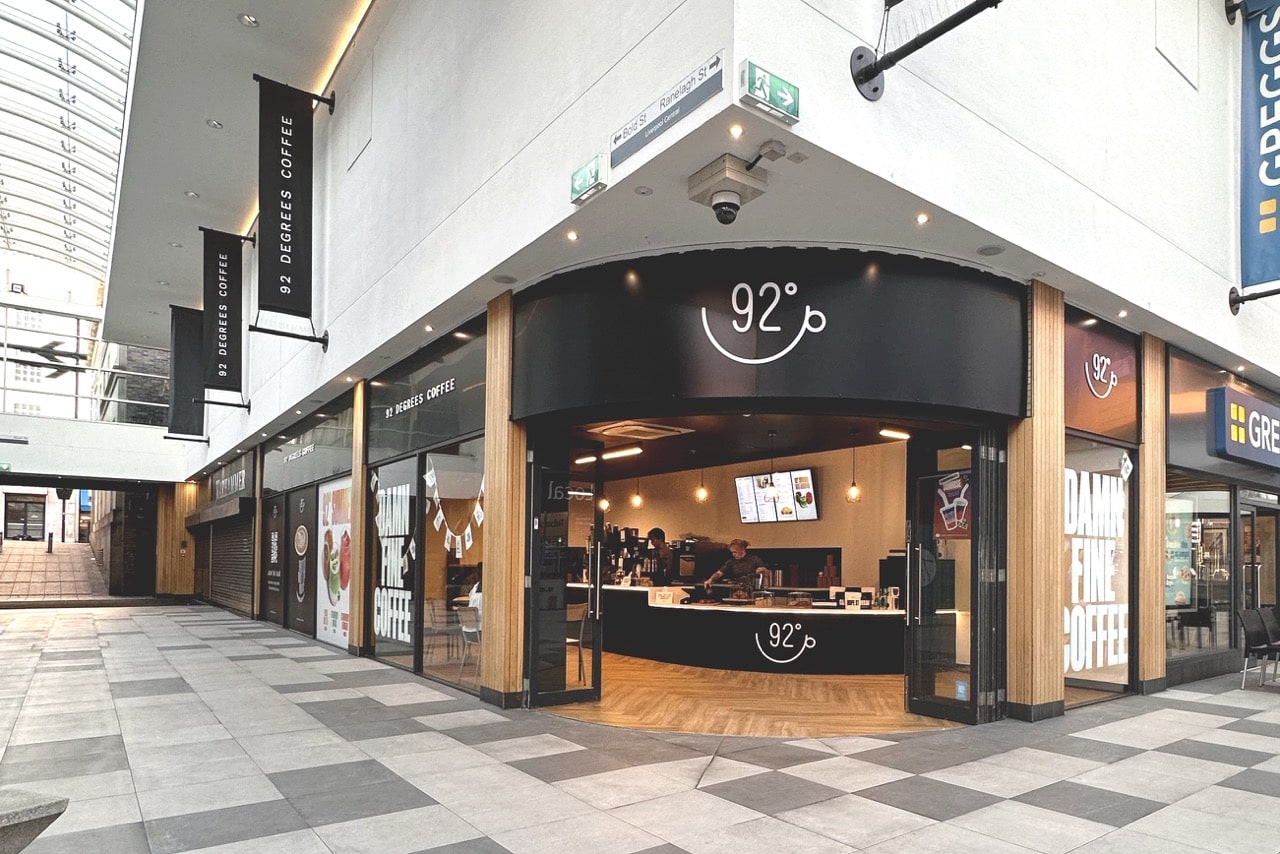
Central Station
Liverpool -
Call Lane
Leeds -

Multistory
Birmingham -

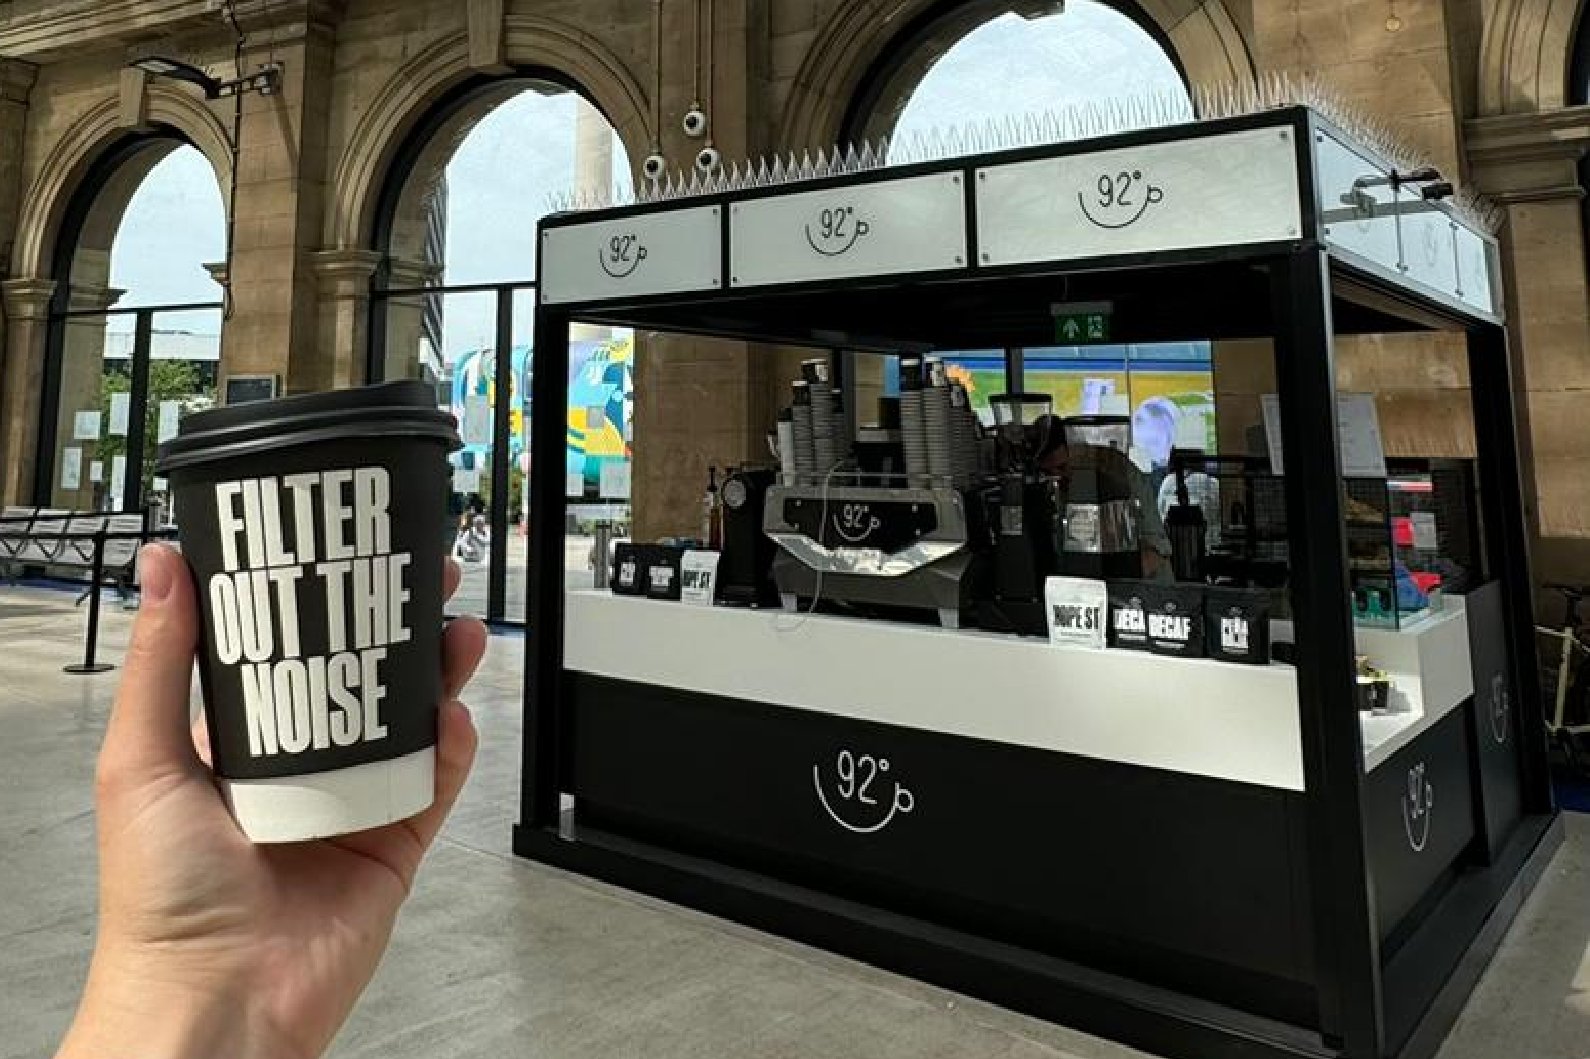
Multistory Kiosk
Birmingham


